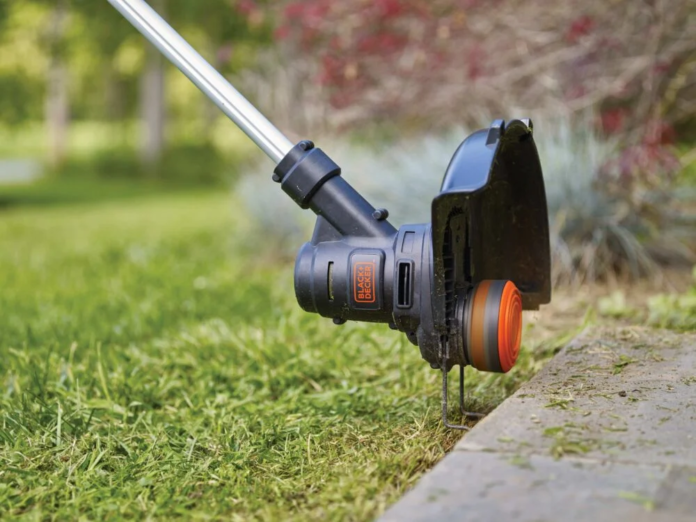
Maintaining your Black and Decker trimmer is essential for optimal performance, and at times, you may need to remove the spool housing for various reasons, such as replacing the line or cleaning the components. In this comprehensive guide, we’ll provide you with a step-by-step process on how to remove the spool housing from your Black and Decker trimmer, ensuring that you can perform necessary maintenance with ease.

1. Gather Necessary Tools:
Before you begin, make sure you have the necessary tools on hand. Typically, you’ll need a screwdriver, pliers, and a clean, flat surface to work on. Ensure that the trimmer is powered off and disconnected from any power source for safety.
2. Identify the Trimmer Model:
Black and Decker produces a variety of trimmer models, and the process of removing the spool housing may vary slightly between them. Refer to your trimmer’s user manual to identify the specific model and obtain any model-specific instructions for maintenance.
3. Power Off the Trimmer:
Before starting any maintenance procedures, it’s crucial to power off the trimmer and disconnect it from any power source. This ensures your safety during the maintenance process.
4. Remove the Spool Cover:
The spool cover is the protective cap that encases the spool housing. In most Black and Decker trimmer models, you can remove the spool cover by pressing the tabs on either side. Use your fingers or a flathead screwdriver to release the tabs, allowing you to lift off the spool cover.
5. Examine the Spool:
Once the spool cover is removed, take a moment to examine the spool and the line. Check for any tangles, breaks, or signs of wear on the trimmer line. If the line is damaged, this is an opportune time to replace it.
6. Remove the Trimmer Line (if needed):
If you’re replacing the trimmer line, unwind and remove the existing line from the spool. Take note of the line’s length, as you’ll need to cut a similar length for the replacement line.
7. Locate the Spool Housing Screws:
Turn the spool housing over to expose the bottom side. In most cases, you’ll find screws securing the spool housing to the trimmer. The number and type of screws may vary depending on the model. Use a screwdriver to carefully remove these screws.
8. Detach the Spool Housing:
Once the screws are removed, gently lift and detach the spool housing from the trimmer. Be cautious not to force or damage any components during this step. If the spool housing doesn’t easily come off, double-check for any hidden screws or additional fasteners that may be securing it.
9. Clean the Interior:
With the spool housing removed, take the opportunity to clean the interior of any grass, debris, or dirt that may have accumulated. A small brush or compressed air can be helpful for this task. A clean interior ensures smooth operation and prolongs the life of your trimmer.
10. Replace or Repair Components:
If you identified any damaged components while inspecting the spool and trimmer line, now is the time to replace or repair them. Check for any wear on the spool itself, the trimmer line, or the spool housing. Replace any damaged parts with genuine Black and Decker replacement parts for optimal performance.
11. Reassemble the Trimmer:
After cleaning and making any necessary repairs or replacements, it’s time to reassemble the trimmer. Carefully place the spool housing back onto the trimmer, aligning it with the designated grooves or slots. Secure the housing in place by reattaching and tightening the screws.
12. Wind the New Trimmer Line (if replaced):
If you replaced the trimmer line, follow the manufacturer’s instructions for winding the new line onto the spool. Pay attention to the recommended line length and winding pattern. Properly wound trimmer line ensures efficient cutting during operation.
13. Reattach the Spool Cover:
Once the spool housing is securely in place, reattach the spool cover. Align the cover with the spool housing and press down until the tabs audibly click into place. This ensures that the cover is securely fastened, providing protection to the spool and internal components.
14. Test the Trimmer:
Before storing or using the trimmer, conduct a quick test to ensure that everything is functioning correctly. Power on the trimmer and observe the rotation of the spool. Listen for any unusual sounds or vibrations that may indicate a misalignment or issue.
15. Perform Regular Maintenance:
To keep your Black and Decker trimmer in optimal condition, establish a routine maintenance schedule. Regularly inspect the spool, trimmer line, and spool housing for wear or damage. Cleaning the interior and lubricating moving parts as recommended by the manufacturer can contribute to the longevity and efficiency of your trimmer.
By following this step-by-step
guide, you can confidently remove the spool housing from your Black and Decker trimmer for maintenance purposes. Remember to consult your trimmer’s user manual for model-specific instructions and guidelines. Performing regular maintenance not only ensures the smooth operation of your trimmer but also extends its lifespan, allowing you to enjoy efficient lawn care for years to come.
Also read: What Planting Zone Is Indiana: A Guide to Gardening Success


