


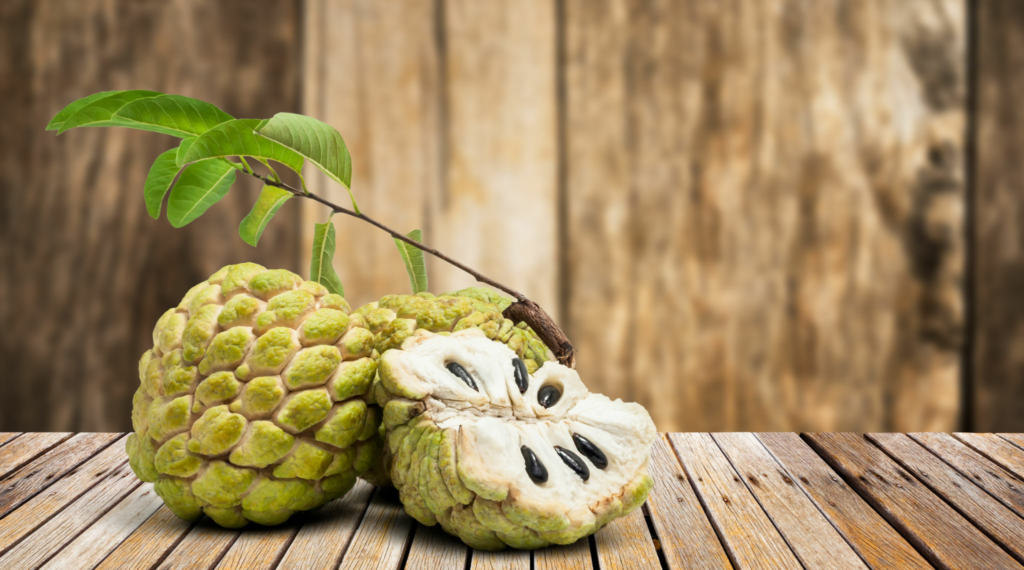
Cherimoya, often hailed as the “custard apple,” is a delectable tropical fruit known for its sweet, creamy flesh. Growing cherimoya from seeds can be a rewarding endeavor, allowing you to experience the joy of nurturing a unique and exotic fruit tree. In this comprehensive guide, we’ll explore the step-by-step process of how to grow cherimoya seeds, from selecting the seeds to caring for the saplings and eventually enjoying the bountiful harvest.
Selecting Cherimoya Seeds:
1. Seed Source:
- Begin by obtaining high-quality cherimoya seeds. You can collect seeds from a ripe cherimoya fruit or purchase them from a reputable supplier. Ensure that the seeds are fresh and have not been subjected to harsh conditions.
2. Seed Viability:
- To check the viability of cherimoya seeds, perform a float test. Place the seeds in a bowl of water, and discard any that float, as they may not be viable. The ones that sink are more likely to germinate successfully.
Germinating Cherimoya Seeds:
1. Seed Preparation:
- Before planting, soak the cherimoya seeds in lukewarm water for 24 hours. This helps to soften the seed coat and enhances germination. Discard any seeds that show signs of damage or mold during this process.
2. Planting Medium:
- Choose a well-draining and nutrient-rich potting mix for germination. A mix containing perlite or vermiculite is ideal for cherimoya seeds. Fill small seed trays or pots with the planting medium.
3. Planting Depth:
- Plant the cherimoya seeds about 1 to 2 inches deep in the soil. Cover them with a thin layer of soil and lightly pat it down. Water the soil gently to ensure good seed-to-soil contact.
4. Warm Environment:
- Cherimoya seeds require a warm environment for successful germination. Place the seed trays in a location with a consistent temperature of around 75 to 80°F (24 to 27°C). You can use a heating mat to maintain warmth.
5. Maintaining Moisture:
- Keep the soil consistently moist but not waterlogged. Mist the soil surface if it starts to dry out. Covering the seed trays with plastic wrap can help retain moisture during the germination period.
6. Germination Time:
- Cherimoya seeds typically take 2 to 8 weeks to germinate. Once you see the emergence of seedlings, remove the plastic wrap and continue to provide warmth and adequate moisture.
Transplanting Cherimoya Seedlings:
1. Choosing Containers:
- When the cherimoya seedlings have developed several leaves and are around 6 inches tall, transplant them into larger containers. Select pots that allow for proper drainage.
2. Soil Composition:
- Use a well-draining potting mix for the transplant. A mix containing a combination of peat moss, perlite, and organic matter provides an ideal growing medium for cherimoya.
3. Gentle Transplanting:
- Carefully remove the seedlings from the seed trays, taking care not to damage the delicate roots. Transplant each seedling into its individual pot, ensuring the root system is well-covered with soil.
4. Sunlight Exposure:
- Cherimoya plants thrive in full sunlight. Once transplanted, place the pots in a sunny location or under grow lights if growing indoors. Provide at least 6 to 8 hours of sunlight daily.
5. Watering Routine:
- Establish a regular watering routine for the cherimoya seedlings. Water when the top inch of the soil feels dry. Avoid overwatering, as cherimoya plants are susceptible to root rot in waterlogged conditions.
Cherimoya Tree Care:
1. Fertilization:
- Feed your cherimoya plants with a balanced, water-soluble fertilizer during the growing season. Follow the recommended application rates on the fertilizer packaging. Reduce fertilization in the dormant season.
2. Pruning:
- Prune your cherimoya tree to shape it and remove any dead or diseased branches. Pruning helps maintain a healthy and well-structured tree, promoting better fruit production.
3. Pest Management:
- Keep an eye out for common pests like aphids or mites. Use natural remedies or insecticidal soap to manage pest infestations. Regularly inspect the leaves and stems for any signs of issues.
4. Providing Support:
- Cherimoya trees may require staking or support as they grow taller. This is especially important in areas with strong winds. Use a stake to provide support without damaging the root system.
5. Pollination Assistance:
- Cherimoya trees are typically self-pollinating, but hand pollination can enhance fruit production. Gently transfer pollen from one flower to another using a small brush or cotton swab when the tree is in bloom.
Patience Rewarded: Harvesting Cherimoya Fruits
1. Flowering and Fruiting:
- Cherimoya trees typically start flowering within the first few years of growth. As the flowers develop, small fruit will begin to form. It may take several months for the fruit to mature.
2. Harvesting Time:
- Harvest cherimoya fruits when they reach a mature size and the skin turns slightly yellow-green. The fruit should yield to gentle pressure when ripe. Cut the fruit carefully to avoid damaging the tree.
3. Ripening Process:
- Cherimoya fruits continue to ripen after harvest. Place them at room temperature until they are soft and have a fragrant aroma. Once ripe, store them in the refrigerator for a few days.
4. Enjoying the Bounty:
- The moment of tasting your homegrown cherimoya is a culmination of patience and care. Revel in the creamy, sweet flesh of the fruit, savoring the unique flavor that your efforts have brought to fruition.
Conclusion: Nurturing Cherimoya from Seed to Harvest
In conclusion, growing cherimoya from seeds is a journey that requires dedication, patience, and a bit of horticultural know-how. From selecting viable seeds to nurturing seedlings, transplanting, and caring for mature trees, each stage contributes to the eventual delight of harvesting and enjoying the exquisite cherimoya fruits.
Whether you cultivate cherimoya indoors or in a tropical garden, the satisfaction of cultivating this remarkable fruit from seed to harvest is a rewarding experience for any gardening enthusiast. Embrace the process, and let the sweet taste of success be your ultimate reward.